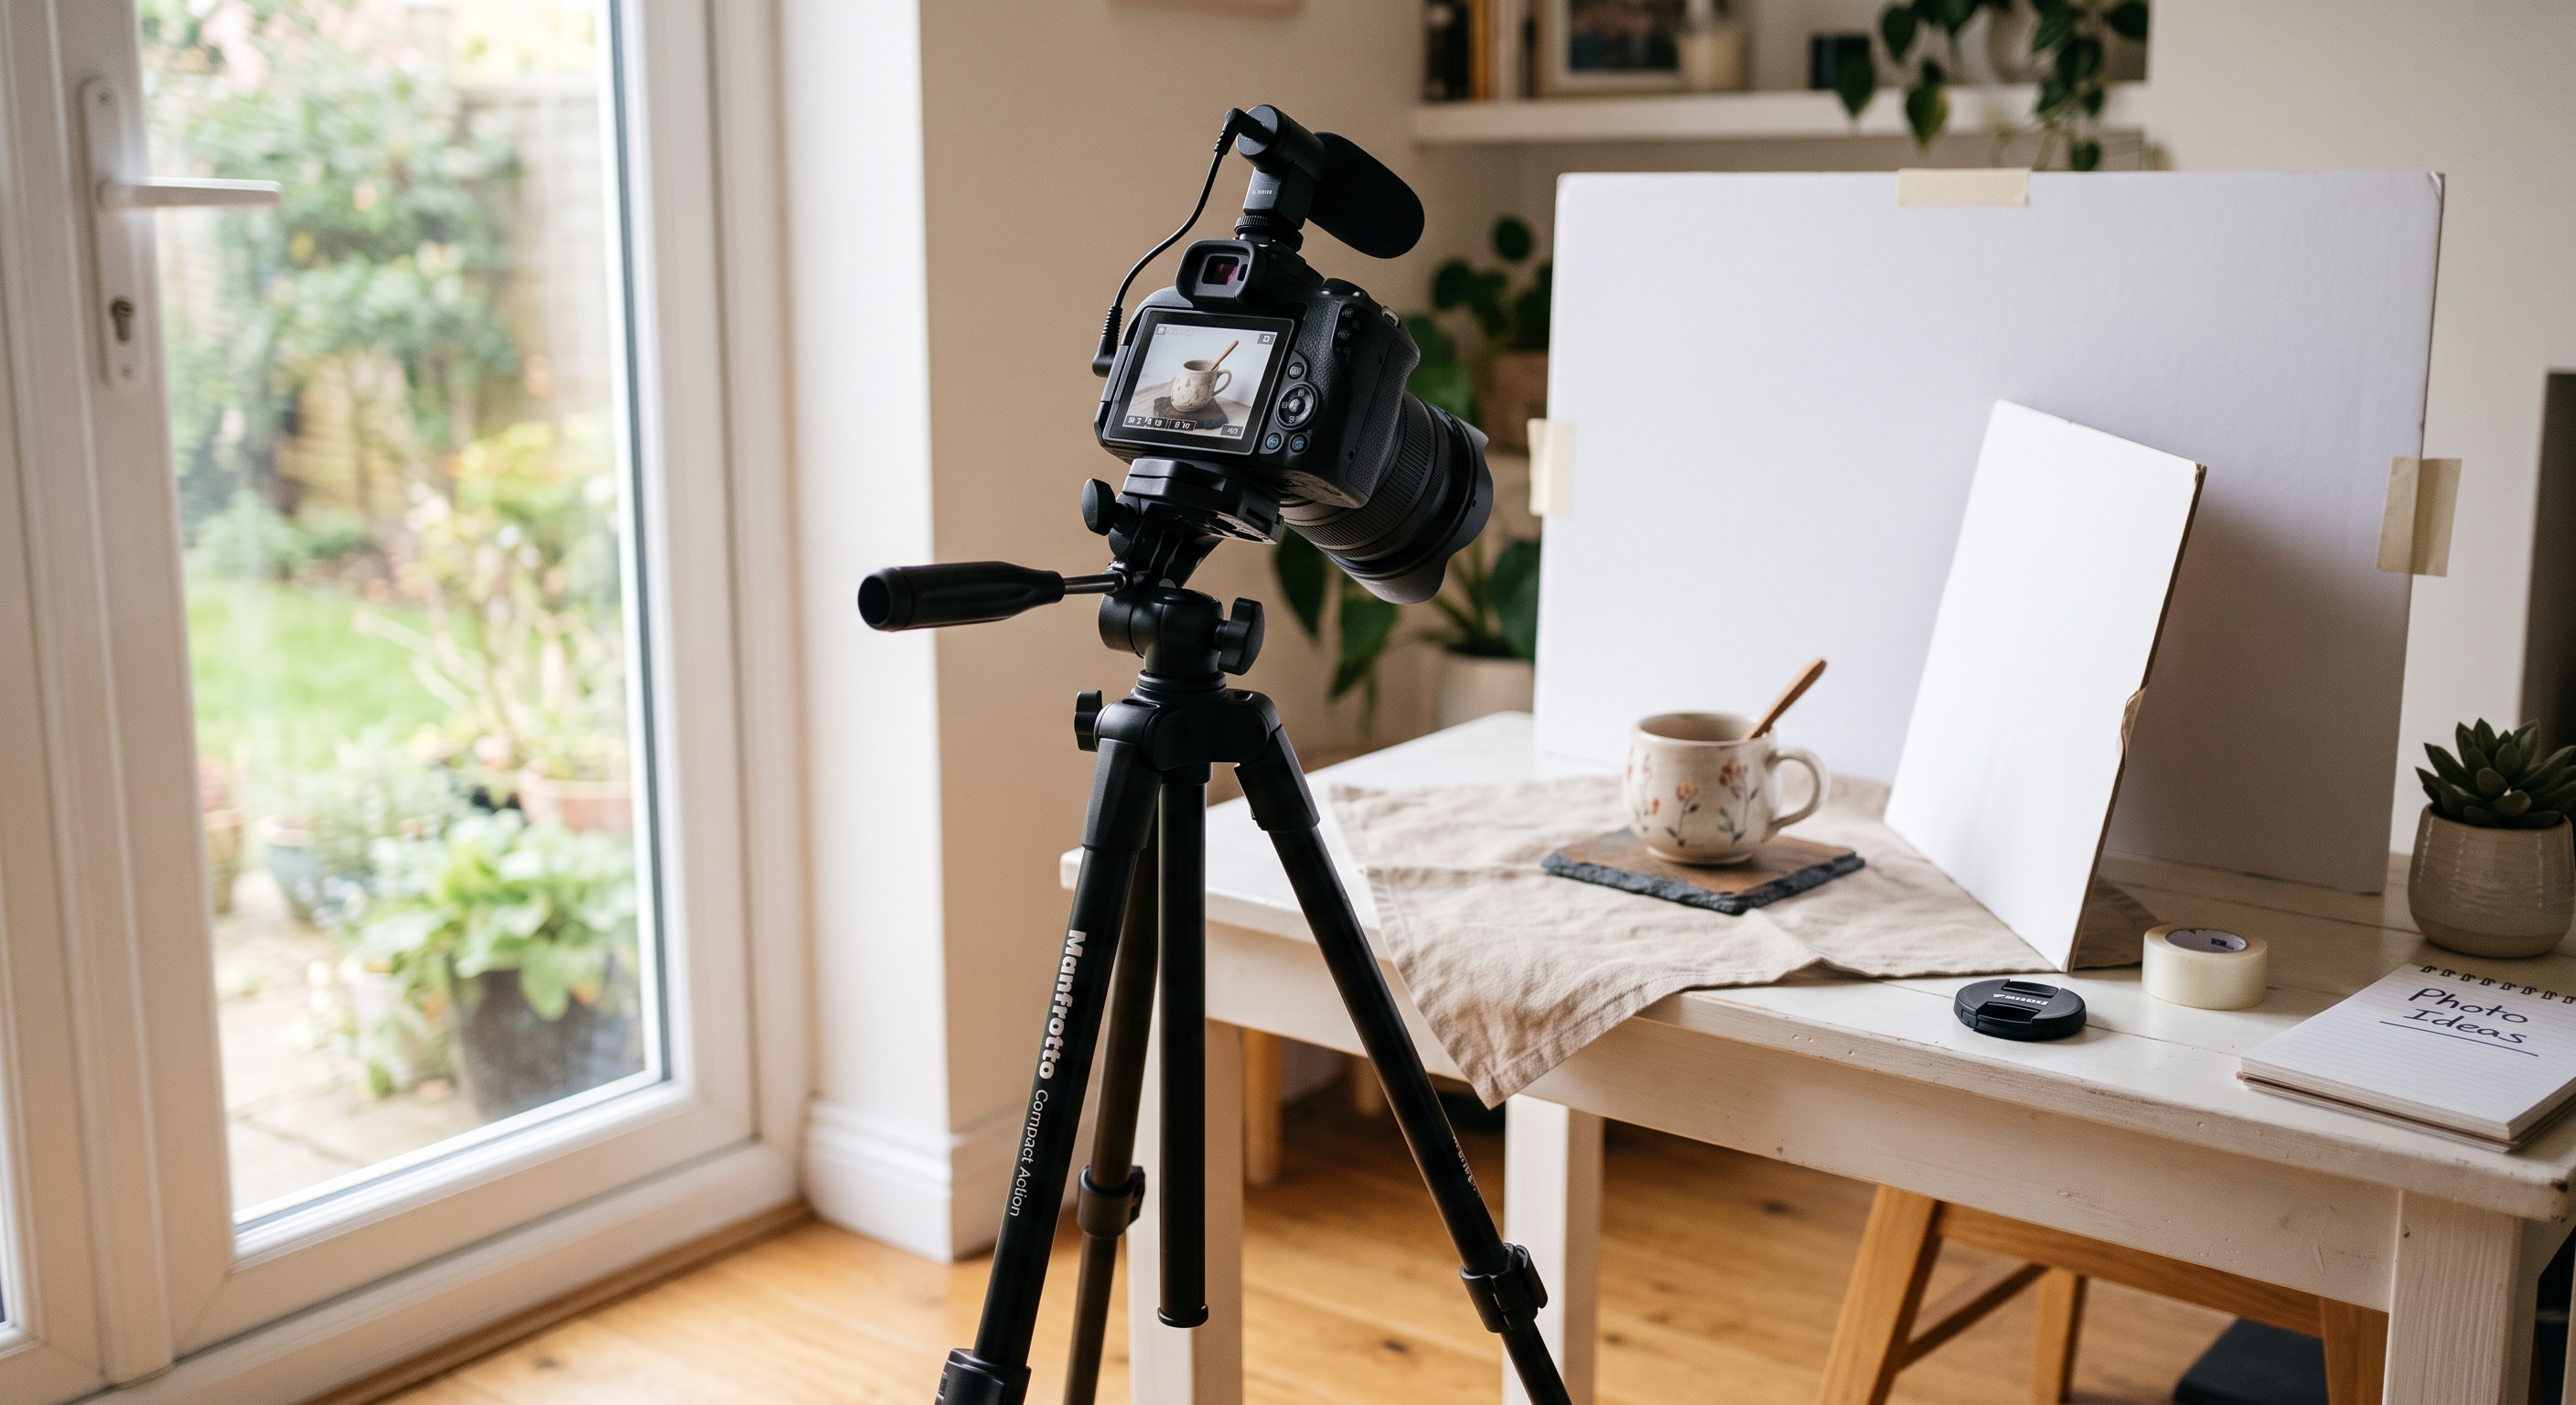
Great product photos are the difference between a listing that sells and one that gets ignored — online, the photo is the product until it arrives. The encouraging news for beginners is that professional-looking product photography comes down to a few learnable fundamentals, not expensive gear or years of practice. Master light, background, composition, and a little editing, and you can shoot clean, trustworthy photos with whatever camera you already own. This guide covers those basics from the ground up.
Quick answer: Product photography for beginners comes down to four things: soft, even lighting (natural window light is easiest), a clean, uncluttered background, sharp focus with the product filling the frame, and light editing for accurate brightness and colour. Get those right on any camera or phone, and your photos will look professional.
Why do product photos matter so much?
Online buyers can't touch, weigh, or try a product, so they judge its quality, value, and trustworthiness almost entirely from the photos. Strong images increase clicks and conversions; weak ones lose sales even for excellent products. On top of that, your first photo is the thumbnail shoppers see in search results - it decides whether anyone clicks at all. Product photos aren't decoration; they're your single most important sales tool, which is why they're worth learning to do well.
What equipment do you need to start?
Almost nothing to begin. A modern smartphone camera is more than enough. Beyond that, a few cheap or improvised items go a long way:
- A window for natural light - free and better than most beginner setups.
- A clean background - white or neutral paper, a poster board, or a piece of fabric.
- A white reflector - foam board or card to bounce light and soften shadows.
- Something to steady the camera - a small tripod or a stack of books.
- A cloth to clean the lens.
You can upgrade to a dedicated camera, lights, or a proper backdrop later, but none of it is required to get professional results at the start. Spend on gear only once you've outgrown what you have.
What's the most important thing in product photography?
Lighting. More than the camera, the background, or editing, light determines whether a photo looks professional or amateur. Soft, even light flatters a product and shows its true colour and texture; harsh or dim light creates ugly shadows and muddy images that no amount of editing fully fixes. If you improve one thing first, make it your light.
How do you use natural light for product photos?
Natural daylight is the easiest, cheapest, and most flattering light for beginners:
- Shoot near a window with indirect daylight, not direct sun. Overcast days and north-facing windows give the softest, most even light.
- Diffuse direct sun with a sheet of white paper or a thin white curtain over the window.
- Turn off indoor and overhead lights so you're not mixing warm bulb light with daylight, which creates colour casts that are hard to correct.
- Bounce light back into the shadows with a white reflector placed opposite the window.
- Shoot a whole batch at the same time of day so your photos stay consistent across the shop.
TIP: Clean your lens and shoot in daylight. A wiped lens plus soft window light fixes most "why do my photos look bad" problems before you touch a single camera setting.
What background should a beginner use?
Start simple and let the product stand out:
- A clean white or light-neutral background is the safest, most versatile choice, especially for your main image - it removes distraction and makes colours pop.
- Natural textures like light wood, linen, or stone add warmth and a handmade feel.
- Keep it uncluttered. Remove anything in the frame that competes with the product.
NOTE: A white background isn't always required. Marketplaces like Etsy and your own store welcome lifestyle scenes, while Amazon requires pure white for the main image. A clean background is still the safest default for your hero shot everywhere.
How do you compose and frame a product photo?
Composition turns a clear photo into an appealing one:
- Fill the frame with the product, but leave a little margin. Platforms crop images differently, especially on mobile, so a product jammed to the edges can get awkwardly cut off.
- Turn on your camera's grid and use the rule of thirds - place key elements along the lines or where they intersect, rather than dead center every time.
- Shoot the two most useful angles: straight-on at eye level and a top-down flat lay. Keep your angles consistent across a listing.
- Keep the product sharp - tap the screen to focus and steady the camera to avoid blur.
How many photos should you take, and of what?
Take more than you think you need - you can always cut later. A solid starter shot list:
- A clean hero shot (your main image, on a simple background).
- The product from a second angle.
- A close-up of texture, material, or detail.
- A scale shot (in a hand, worn, or beside a common object).
- A lifestyle or in-use shot.
- Any variations (colours, sizes) and what's included.
Think of each image as answering a buyer question: What is it? What does it look like up close? How big is it? How is it used?
How do you edit product photos as a beginner?
Editing should make the photo look like the real product on a good day - not fake it. Free apps like Snapseed, Lightroom Mobile, or your phone's built-in editor cover everything you need, in roughly this order:
- Crop and straighten to your chosen aspect ratio.
- Brightness/exposure - lift it for a light, clean look.
- White balance - so whites look white, and your product's real colours show accurately.
- Contrast and shadows - a small boost for punch, while keeping detail visible.
- Sharpening - a light touch; overdoing it looks artificial.
Keep every photo in a listing edited consistently, and never distort the product's true colour or shape.
If editing and standardising photos across a large catalogue feels overwhelming, an AI product photography tool can do the heavy lifting for you.
Turn plain phone photos into clean, studio-quality product images in seconds.
Try Easy Content Studio free
What are the most common beginner mistakes?
- Shooting in dim rooms or direct sun instead of soft, indirect daylight.
- Forgetting to clean the lens - the number one cause of hazy photos.
- Using digital zoom or flash - both degrade quality.
- Cluttered backgrounds that distract from the product.
- Uploading too few photos and leaving buyer questions unanswered.
- Over-editing or heavy filters that misrepresent the real color.
- Not checking the main photo as a small mobile thumbnail before publishing.
Avoid those, apply the light-background-composition-editing process above, and whatever camera you own is genuinely enough to build a professional-looking shop.
Frequently asked questions
Do you need an expensive camera for product photography?
No. A modern smartphone captures more than enough quality for online listings. Lighting, background, and composition matter far more than the camera itself. Start with a phone and upgrade only if you outgrow it.
What is the best lighting for product photography?
Soft, even light. For beginners, indirect natural daylight from a window is the easiest and cheapest way to get professional results. Avoid direct sun, which creates harsh shadows, and avoid mixing daylight with indoor bulbs, which creates colour casts.
What background is best for product photos?
A clean white or light-neutral background is the safest, most versatile choice, especially for a main image. Natural textures and lifestyle scenes work well for supporting photos. The key is keeping it uncluttered so the product stands out.
How many photos should a product listing have?
Use most of the slots the platform allows and show variety: a hero shot, extra angles, close-ups, a scale shot, and a lifestyle image. More angles reduce buyer uncertainty and tend to convert better.
How do you make product photos look professional?
Combine soft lighting, a clean background, sharp focus with the product filling the frame, and light, consistent editing for accurate colour. These fundamentals matter more than gear, and they're what make a photo look professional.
Can you use your phone for professional product photos?
Yes. Modern phones are fully capable of professional-quality product photos when you control the lighting, background, and composition. Plenty of professional-looking listings are shot entirely on a phone.
How do you edit product photos for free?
Free apps like Snapseed, Lightroom Mobile, or your phone's built-in editor handle cropping, brightness, white balance, contrast, and sharpening - everything a product photo needs. Keep edits light and consistent across a listing.