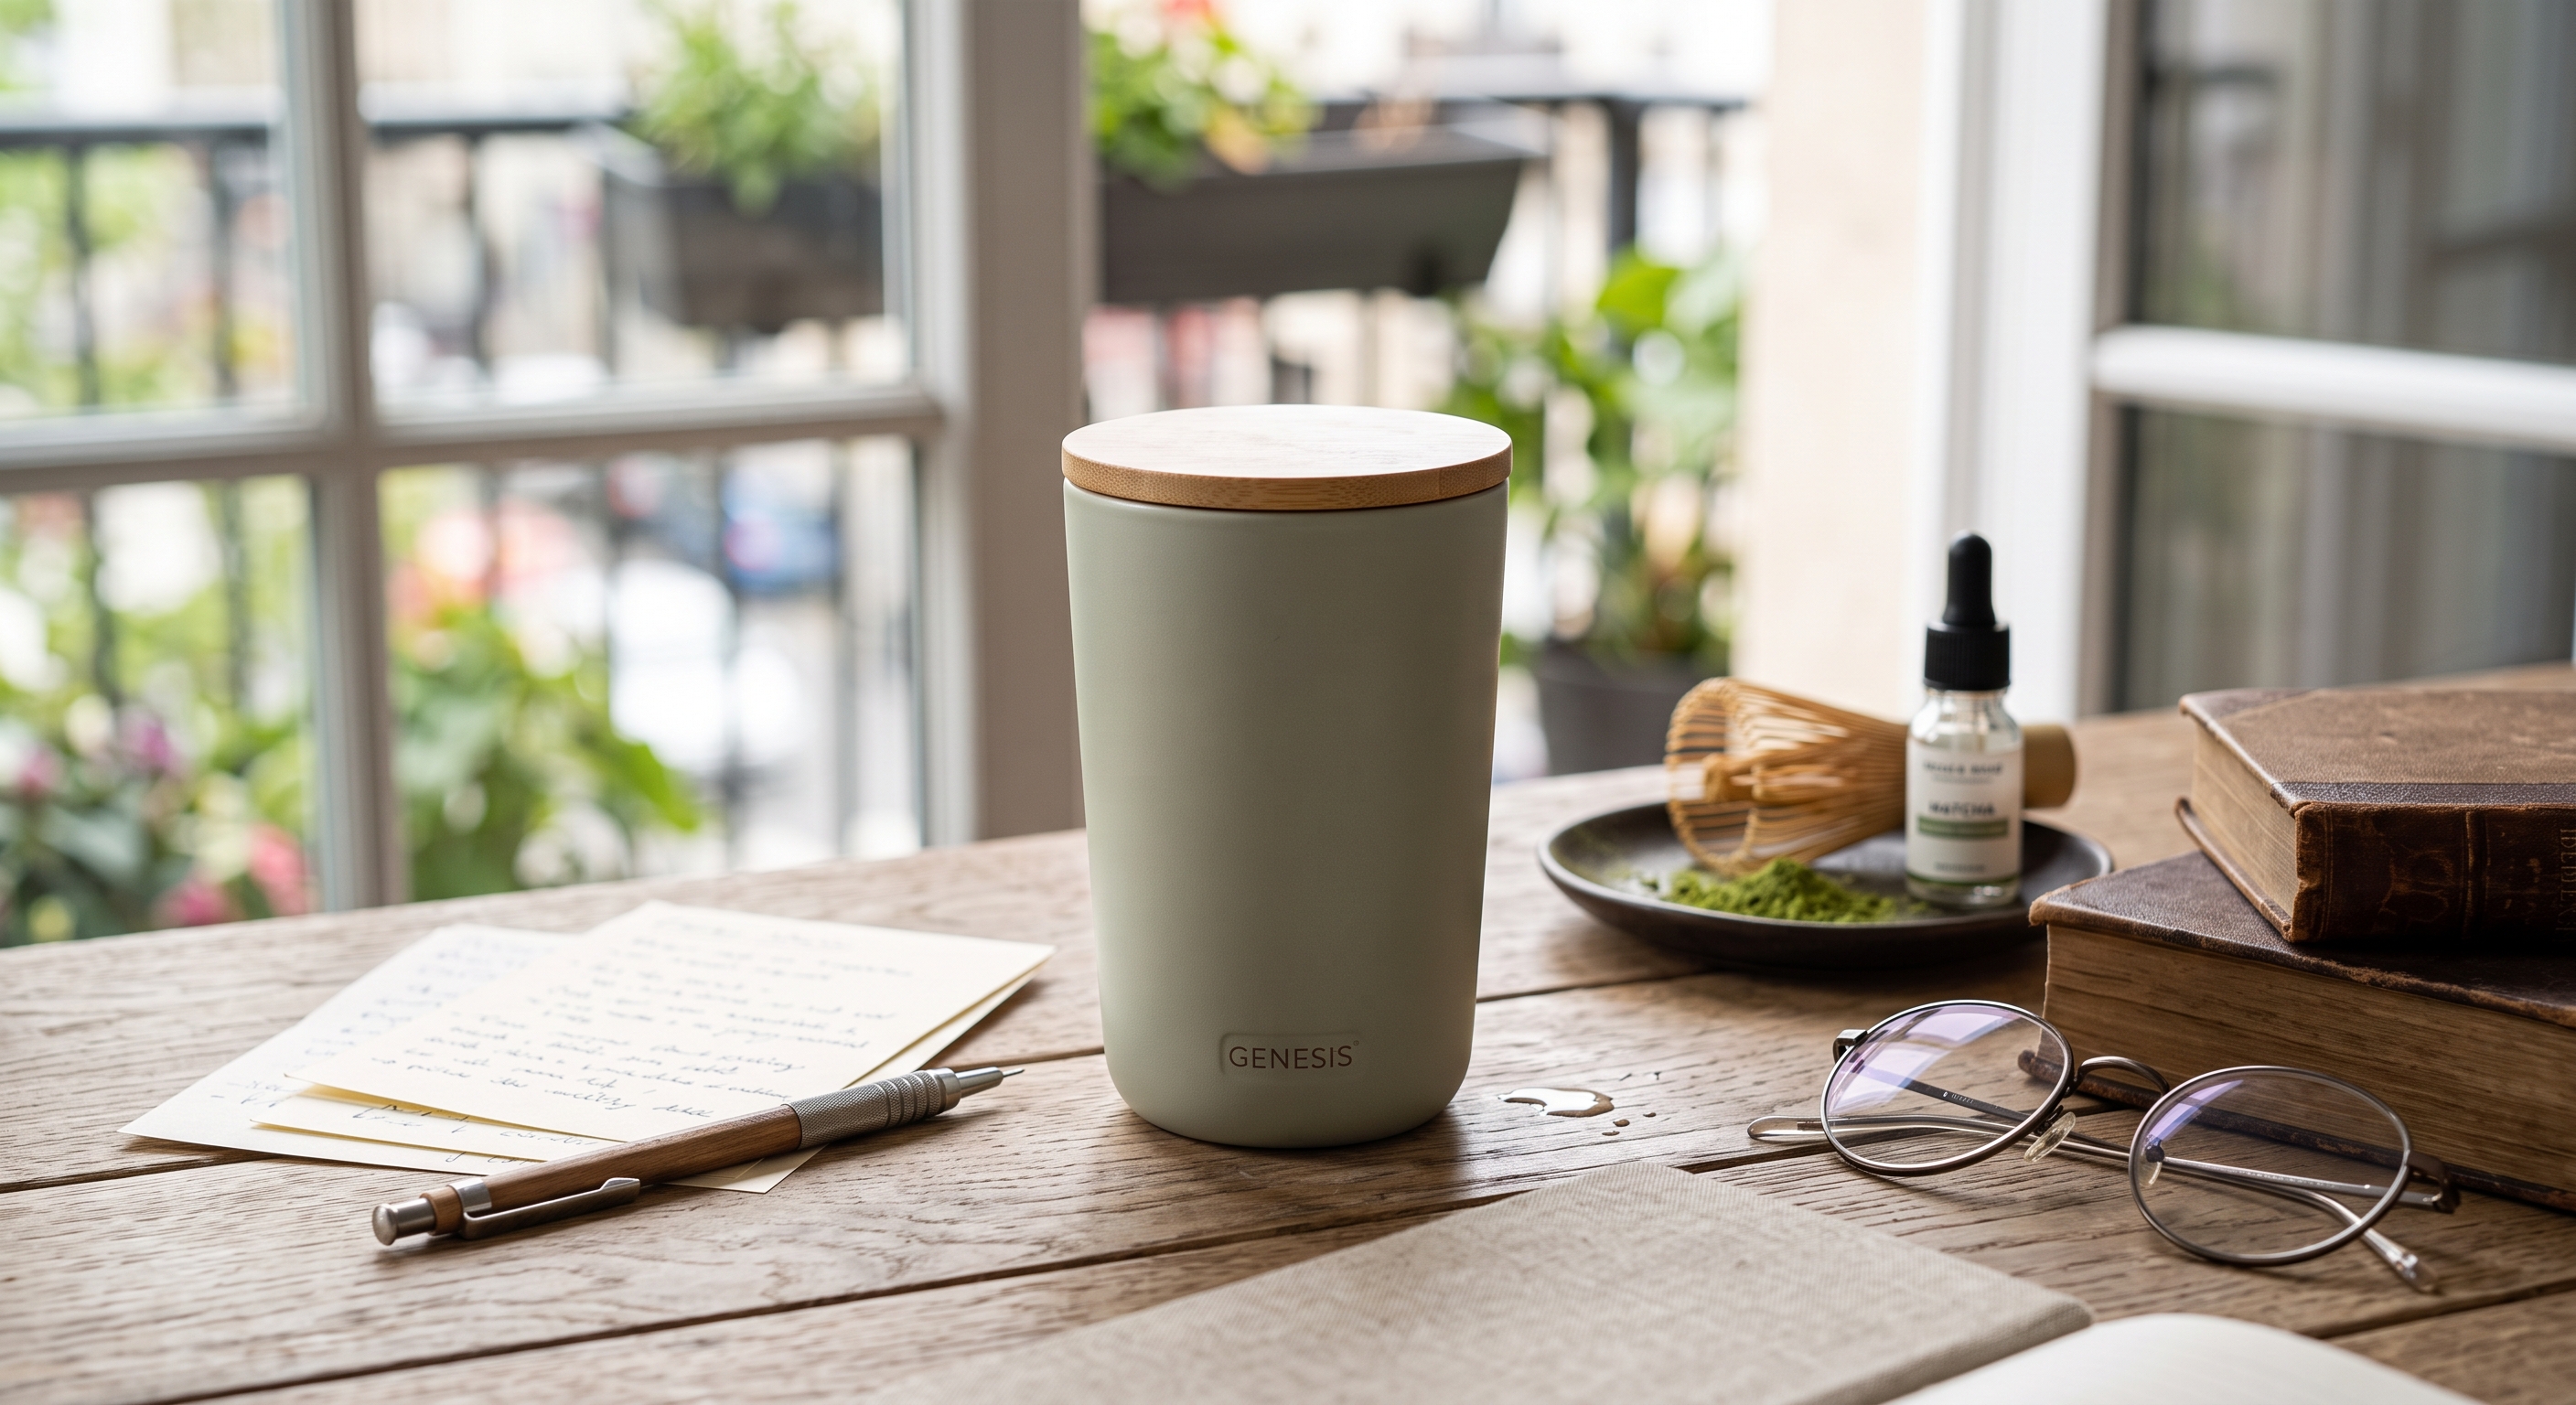
AI product photo generators can turn a simple phone snapshot into polished, studio-quality imagery - but the result is only ever as good as the photo you start with. The generator uses your source image to understand the product's shape, materials, colours, and details, so a clear, well-prepared photo produces a clean, accurate result. In contrast, a blurry or cluttered one produces guesswork and artefacts. Preparing your photo well takes a couple of minutes and dramatically improves what you get back. Here's exactly how to do it.
Quick answer: To prepare a product photo for AI generation, use a clear, in-focus shot with the whole product visible and important edges sharp. Light it with soft, even light, avoid colour-shifting filters, shoot at the highest resolution you can, keep the camera steady, and remove background clutter. The cleaner the source, the more accurate the generated image.
Why does the source photo matter for AI generation?
An AI product image generator doesn't invent your product from nothing - it works from the photo you give it. That source image is where it reads the product's shape, proportions, materials, colours, and fine details. When the source is clear and well-lit, the model has reliable information to work with and returns a clean, accurate image. When it's blurry, dark, cluttered, or partly hidden, the model has to guess - and guessing is where distortions, wrong colours, and artefacts come from. Preparing your photo well is the single biggest thing you can do to improve the result.
What makes a good source photo for AI?
A good source photo gives the generator complete, unambiguous information:
- Show the whole product in frame with a little margin around it - don't crop off edges.
- Keep important edges and contours visible and in focus, so the shape reads clearly.
- Make sure it's sharp, not blurry or soft - tap to focus and keep the camera steady.
- Show the product's true colours and materials under neutral light.
A clean source gives the generation process reliable information about shape, material, and colour - which is exactly what it needs to produce an accurate result.
How should you frame and position the product?
- Place the full product in the frame, centred, with breathing room around it.
- Choose the angle that best represents the product - straight-on or a natural three-quarter view.
- Avoid extreme angles or perspectives that hide or distort key parts.
- Keep the most important, recognisable side facing the camera.
- Don't let other objects overlap or block any part of the product.
What lighting works best for AI generation?
Soft, even light is easier for the generator to work with than strong highlights or deep shadows. Even lighting shows the product's real colours and full surface detail, giving the model clean information to reproduce. Harsh light creates blown-out highlights and dark shadows that hide detail and confuse the result.
- Use soft, diffused light - indirect daylight from a window is ideal.
- Avoid harsh direct light, strong highlights, and deep shadows.
- Don't mix light sources that create colour casts.
- Avoid filters or heavy edits that change the product's real colour - the generator will reproduce the altered colour, not the true one.
What resolution and image quality do you need?
The more detail in your source, the more the generator has to work with:
- Use the highest resolution your camera offers.
- Upload the original file, not a compressed copy or a screenshot.
- Avoid heavy compression, which throws away detail.
- Make sure the product is large in the frame so it uses as many pixels as possible.
A high-resolution, sharp source matters most for products with fine detail or text.
What should you avoid in a source photo?
A few things reliably degrade AI results:
- Blur or soft focus - the model can't recover detail that isn't there.
- Clutter and busy backgrounds - remove distractions where practical.
- Filters and color-shifting edits - they misrepresent the true color.
- Deep shadows or blown highlights - they hide parts of the product.
- Partly hidden or overlapping products - keep the whole item visible.
- Very low resolution or screenshots - start from a proper photo.
How do you prepare products with labels or fine detail?
Products with printed labels, small text, logos, or intricate detail need extra care, because that's where accuracy matters most:
- Shoot straight-on so text and labels aren't skewed or distorted.
- Use high resolution and sharp focus so small print stays legible.
- Light labels evenly so text isn't lost in glare or shadow.
- Make sure distinctive details - patterns, textures, hardware - are clearly visible.
The clearer these are in your source, the more faithfully they're preserved in the generated image.
Quick checklist for preparing a product photo
Before you generate, run through this:
- Use the highest available resolution.
- Keep the camera steady and the product in sharp focus.
- Show the whole product with important edges visible.
- Light it evenly, with no harsh shadows or colour-shifting filters.
- Remove visual clutter where practical.
- Check that labels and distinctive details are visible.
With a clean source photo ready, you're set to generate polished, store-ready images in seconds.
Turn your prepared product photo into polished, studio-quality e-commerce imagery.
Try Easy Content Studio free
IMPORTANT: Always review every generated image before publishing it in a store or campaign. AI generation is powerful but not perfect - a quick check catches any artefacts or inaccuracies before customers see them.
Frequently asked questions
Does the quality of the source photo affect AI-generated images?
Yes, significantly. AI generators read the product's shape, colour, materials, and detail from your source photo, so a clear, sharp, well-lit image produces an accurate result while a blurry, dark, or cluttered one leads to distortions and artefacts. The cleaner the source, the better the output.
What is the best photo to use for AI product image generation?
A sharp, high-resolution photo showing the whole product in frame, lit with soft, even light, with true colours and no filters. Important edges and details should be clearly visible, and the background should be as uncluttered as practical.
Do you need a professional photo to use an AI product photo generator?
No. A clear phone photo works well as long as it's in focus, evenly lit, high-resolution, and shows the whole product. You don't need a studio or a professional camera - you need a clean, accurate source image.
What lighting is best for AI product photo generation?
Soft, even, diffused light - indirect daylight from a window is ideal. Avoid harsh direct light, strong highlights, and deep shadows, which hide detail, and avoid filters that change the product's real colour, since the generator will reproduce the altered colour.
Why do my AI-generated product images look wrong or distorted?
Usually because the source photo was blurry, low-resolution, poorly lit, cluttered, or partly hidden, so the generator had to guess at missing information. Starting from a sharper, cleaner, higher-resolution photo of the whole product typically fixes it.
Will AI generation keep my product's labels and text accurate?
It's far more likely to when the source shows them clearly. Shoot labels and small print straight-on, in sharp focus, at high resolution, and lit evenly so text isn't lost to glare or shadow. The clearer the detail in your source, the more faithfully it's preserved.
Should you edit a photo before using it for AI generation?
Light edits like cropping and straightening are fine, but avoid filters or colour changes that misrepresent the product - the generator reproduces what it sees, so an altered colour or heavy filter carries into the result. Start from an accurate, unfiltered photo.